How To Fix The Most Common RV Roof Problems
When it comes to RV roof replacement, you can do it yourself with a few essential tools. First, you’ll need a set of Phillips or 1/4-inch hex-head screws. Depending on the type of roof, these will either be included in the kit, or you’ll need to purchase them separately. Also, make sure you have the correct screw sizes for your roof type. It will be easier to replace your RV’s roof if you have the right kind of hardware.
Next, remove any shingles or other rooftop objects that might be causing the leak. Once the area is free of debris, you can replace the old rubber membrane or the sun-roof sheeting. When you reinstall the roof, you should put seam tape along the edges to prevent leaks. Moreover, make sure to apply a coat of lap sealant in all joints to prevent any future deterioration.
If you’ve spotted a leak, you’ll need to know where to find it. Depending on the size of the hole, it could be a button, window, or other obstruction. You can use a wet sponge to see if there’s a visible water sign. If you’re not sure how to find the leak, take a shower and put rubber boots on. When you’re done, ask a friend or family member to flush the water over the top of the RV. Finally, note where the leak is, and a roofing specialist can make a suitable repair.
Once you’ve found the leak, you can proceed with the rest of the project. First, remove any objects on the roof and remove the old rubber membrane and sub-roof sheeting. Then, apply seam tape to the seams where the old sheeting meets the new membrane. You can also use seam tape to reinforce areas where the roof is weak. You can now start planning for the RV roof replacement. The process is not complicated, but you may need to seek professional advice to make sure you do it right.
The first step in any roof repair is to clean the surfaces. Depending on the material used, the roof surface may be stained or have holes in it. To check the roof’s condition, you can use a small flashlight and examine the top of the RV to determine whether there’s a leak. Then, clean the roof’s edges with a chisel and a putty knife to remove any remaining nails.
When it comes to your RV roof, you’ll need to remove all the interior accessories. Then, you’ll need to clean the entire roof area. Using a rake, scrape off the old caulk and inspect the plywood. Once you’ve checked the plywood, you can look for signs of water damage. You can also check the trusses and shingles to make sure they’re sound.
It’s essential to regularly inspect your RV’s roof to determine if it needs to be replaced. If you notice that it’s cracked or peeling, it’s time to have it replaced. Inspecting the roof will help you determine the extent of the problem and what can be repaired to fix it. If the roof is wavy or pitted, hidden water damage is a significant cause for concern. It can result in structural damage, cabinet stains, and interior rot.
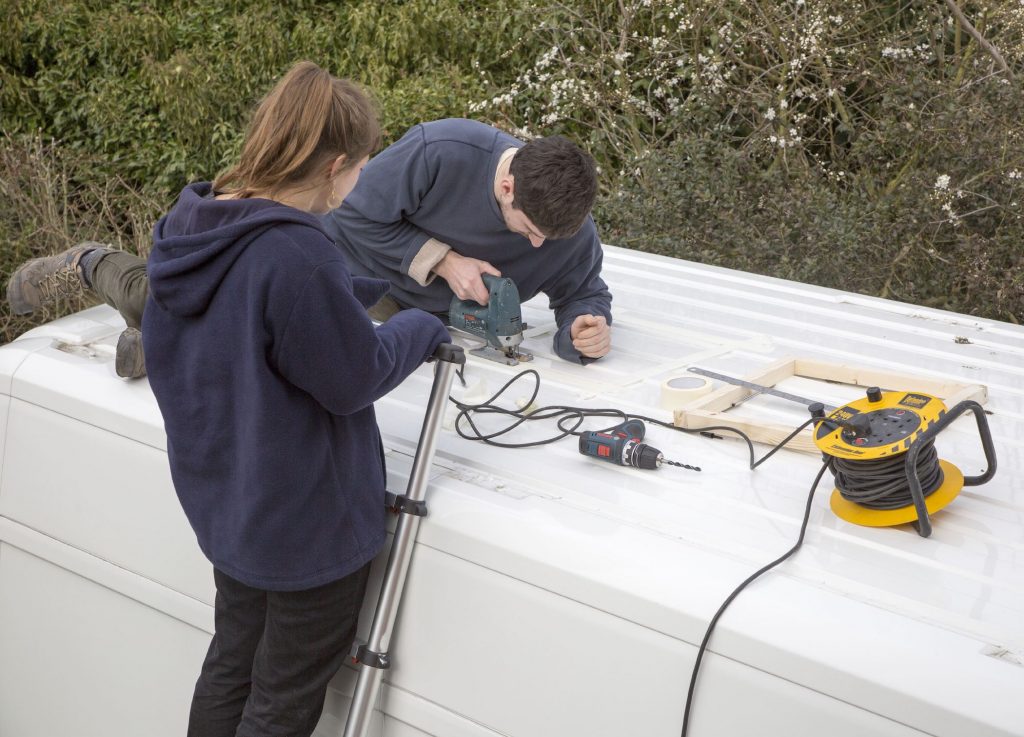
Luckily, RV roof replacement is a DIY project. If you’re handy with tools, you can complete the work yourself. You’ll need to buy the necessary materials and remove the existing roof. If you’re doing it yourself, make sure to remove any interior accessories. If there’s water damage, you should immediately get a new one. If you’ve already repaired the roof, it will be much easier to replace the damaged part yourself.
While you can attempt to do this job yourself, it is essential to ensure that the roof is safe before installing. If you’re replacing the entire RV’s roof, you can use the same tools like a car. Just make sure you use the correct adhesive. If the RV’s roof is not waterproof, it’s essential to have it repaired before the roof can be painted. You can do the same thing with an RV’s roof.